
This is the Retevis RT3 Firmware Upgrade How-To article and video.
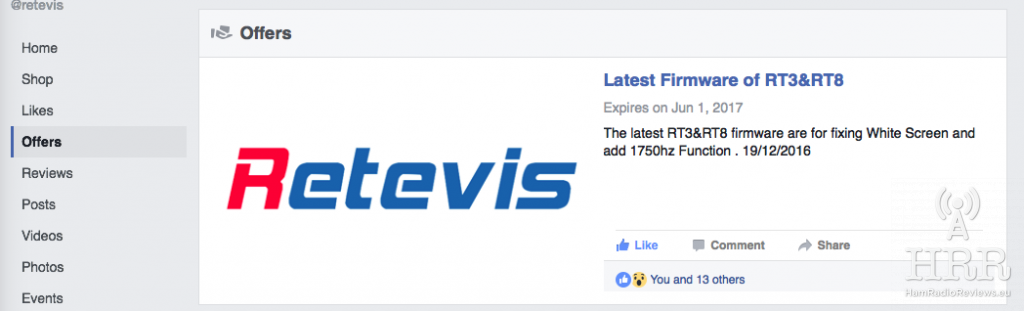
 On 19th December, Retevis issued a firmware upgrade for their Retevis RT3

- Added 1750Hz transmit option to programmable side key.
- Fixed “crashes” of some LCD screens. (white screen issues where you had to turn-off/on the radio)
In addition to the above changes/fixes, I have also noticed that the channel names are now scrolling, when they do not fit in the width of the screen.
They have posted a guide on upgrading on their blog. I thought I’d do my own guide, in addition to a video which I believe will be helpful. The process is similar between RT3 and RT8 radios, however this how-to is specific to the RT3.
The radio was sent to me by Retevis.
Quick links in this post:
Step 1: Determine vocoder version
Step 2: Run the “Upgrade” program
Step 3: Connect the radio and turn it on
Step 5: Send the firmware to the radio
Retevis RT3 Firmware Upgrade How-To
Prerequisites
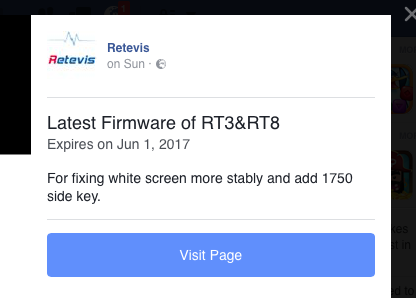
For this Retevis RT3 Firmware Upgrade How-To, you first need to download the zip file from Retevis’ facebook page. I assume you need to like the page first, to be able to download it. You can find the file under “Offers” tab on the left. Click the title “Latest Firmware of RT3&RT8” and then the “Visit Page” button to start the download.
You will get a WinRAR file (.rar). After you extract it, you will have the following contents:
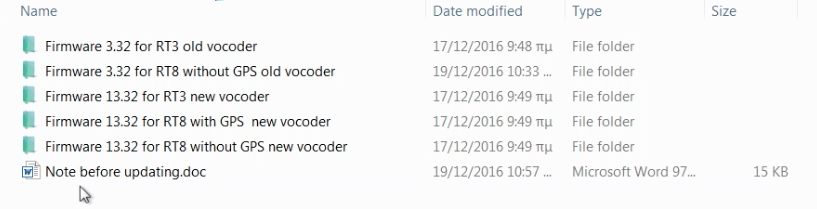
In the “Note before updating” document, you will find the information you need to determine which firmware to use.
You will also need a programming cable
Make sure the battery on your radio is full!
Step 1: Determine vocoder version [Video: 3:50]
The RT3 radios came with two vocoder versions. To determine whether your radio has the older or the newer one, check under Utilities -> Radio Info -> Versions.
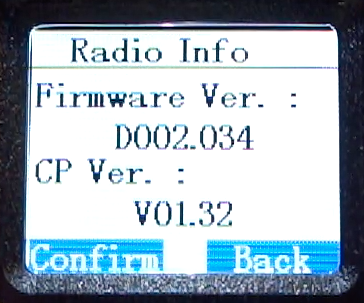
If the firmware version starts with a “D”, then it is the non-GPS radio. If it starts with an “S”, then it is the GPS version. If the version number starts with “00”, then the radio has the old vocoder version. If it starts with “01”, it has the new vocoder version. So, the radio I have, based on what is shown in the screenshot above, is a non-GPS version (“D”) with the old vocoder (“002.034″). So, I care about the folder “Firmware 3.32 for RT3 old vocoder” from the extracted download.
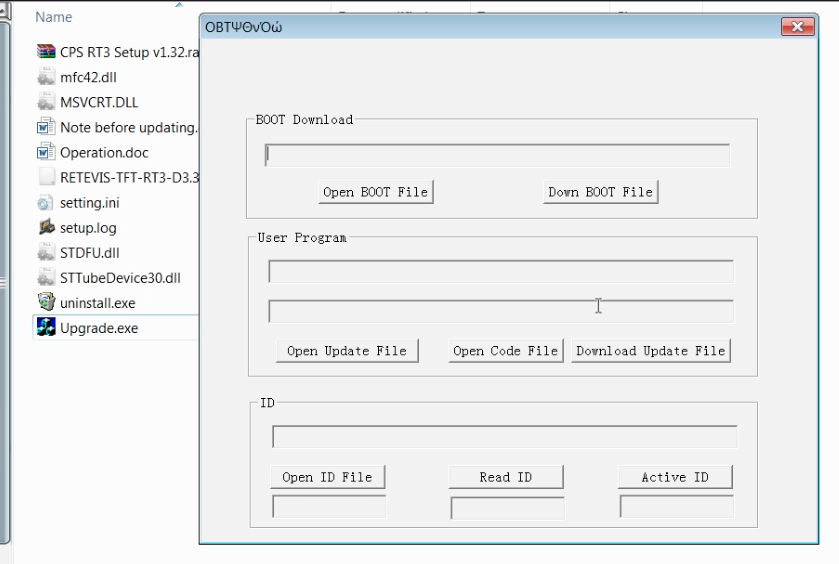
Step 2: Run the “Upgrade” program [Video: 4:50]
Inside the folder, you will find an “Upgrade” executable. Run it to open the program.
Step 3: Connect the radio and turn it on [Video: 5:28]
Connect the programming cable to the 2-pin port and to the USB of your computer. To turn it on for firmware upgrading, you need to press and hold the PTT key and the side-key above it.
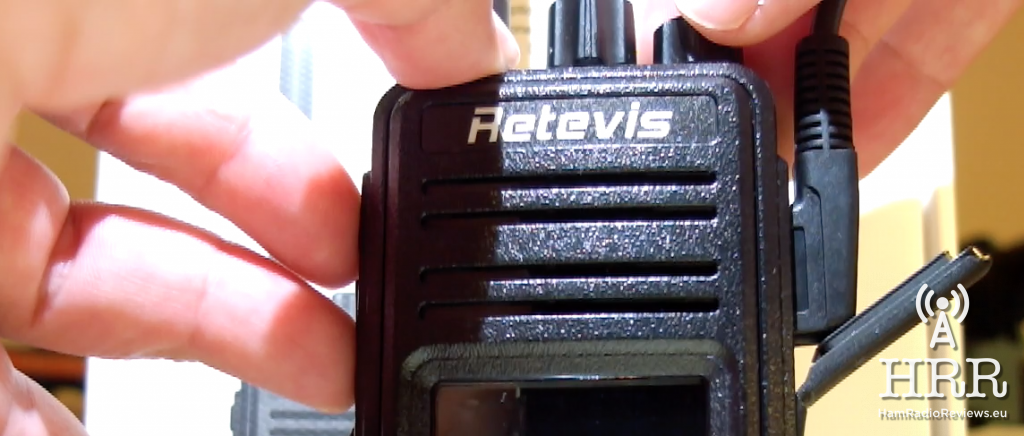
After the led at the top of the radio starts blinking green/red, release the buttons. The radio is ready to accept the new firmware. Note that the display will not turn on, this is normal.
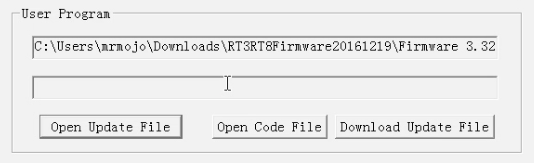
Step 4: Open the .bin file [Video: 6:50]
Click the “Open Update File” button in the Upgrade program you opened on step 2. Select the only “.bin” find you will find in the firmware folder.
Step 5: Send the firmware to the radio [Video: 7:30]
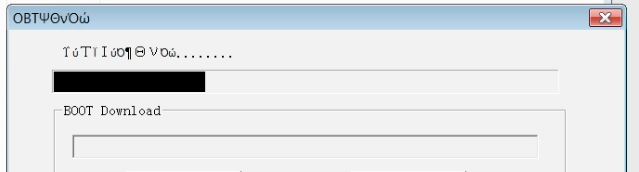
Click the “Download Update File” (yes, “Download…” is the correct button to… upload the firmware to the radio). The upgrade process starts. You will see a black progress bar:
It will take a few minutes for the upgrade process to finish. When it finishes successfully, you will see the following prompt:
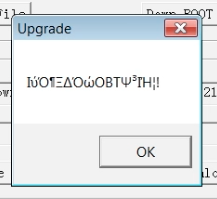
Congratulations, you have successfully upgraded the firmware on your Retevis RT3
Video
Here is the full how-to video, enjoy:
You can get the radio through the following links:
US:
UK/Europe:
Retevis.com:
Retevis RT3 – Use coupon code “HamRadioReviewsRT” to get $15 off the purchase!

Disclaimer
Although every effort was made to make an accurate Retevis RT3 Firmware Upgrade How-To, HamRadioReviews takes no responsibility if, for any reason, the firmware upgrade fails and leads to a damaged radio. Thanks!
![Ailunce HD1 Real World Range Test [Video]](https://www.hamradioreviews.eu/wp-content/uploads/2018/06/Thumb_640-150x150.png)
![Ailunce HD1 Firmware Upgrade, Address Book and Codeplug [Video]](https://www.hamradioreviews.eu/wp-content/uploads/2018/01/Ailunce-HD1-Firmware-Upgrade_640-150x150.png)


![Remote Controlling Baofeng DM-5R [Video]](https://www.hamradioreviews.eu/wp-content/uploads/2017/01/Remote-Controlling-Baofeng-DM-5R-video-thumb-1200-150x150.png)